Team 17 Project

SurfaceHelper

A cleaner helper specially designed for flat surfaces. Small, modular, and friendly.

SurfaceHelper Robot

The Concept

Cleaning the stove top every time after cooking is a tiring chore, and fresh spills often harden if left unattended. We wanted to address this common issue by creating a solution that acts as a dedicated assistant for users' kitchen surfaces.

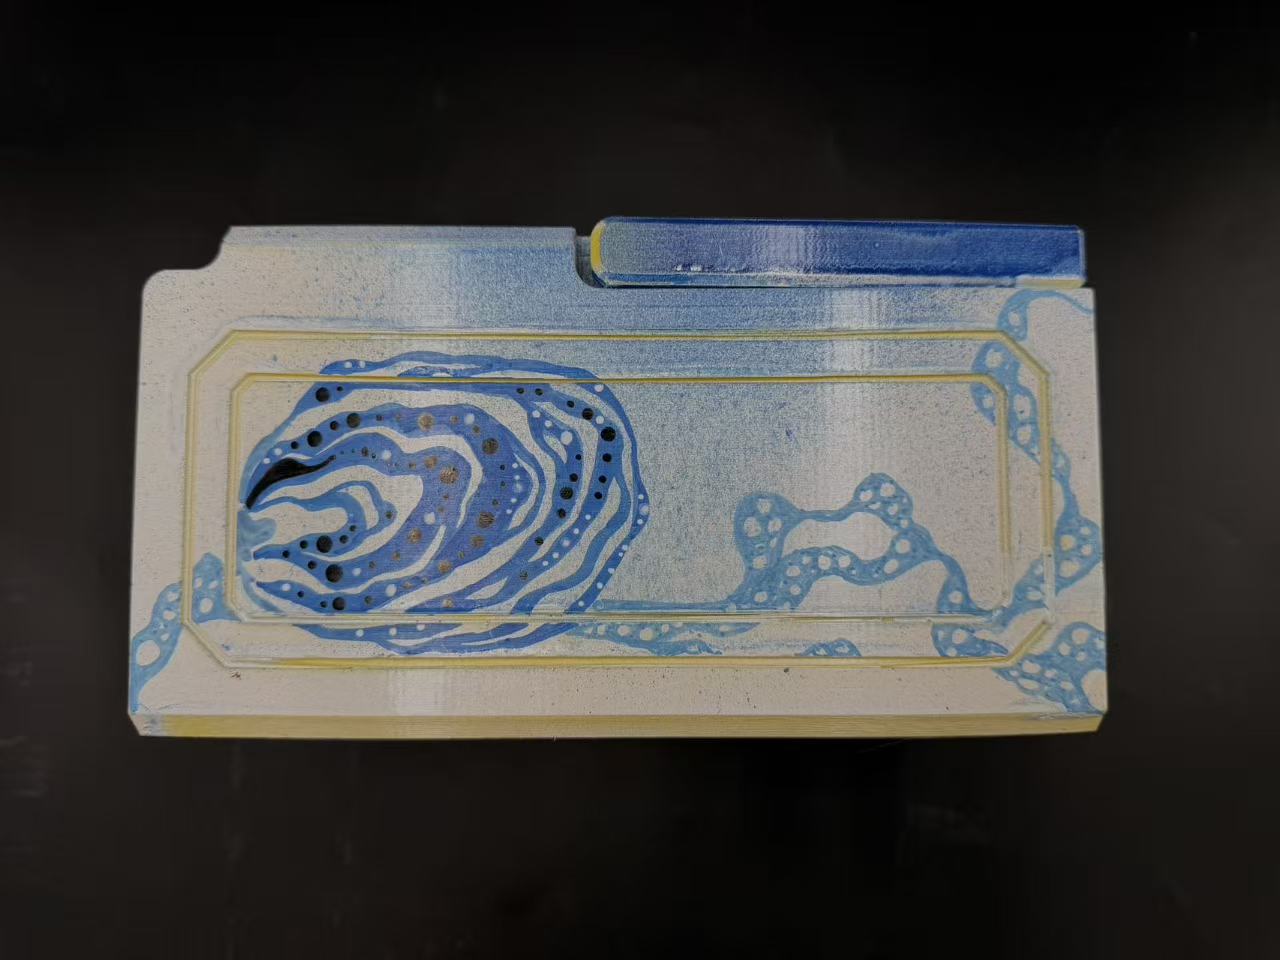
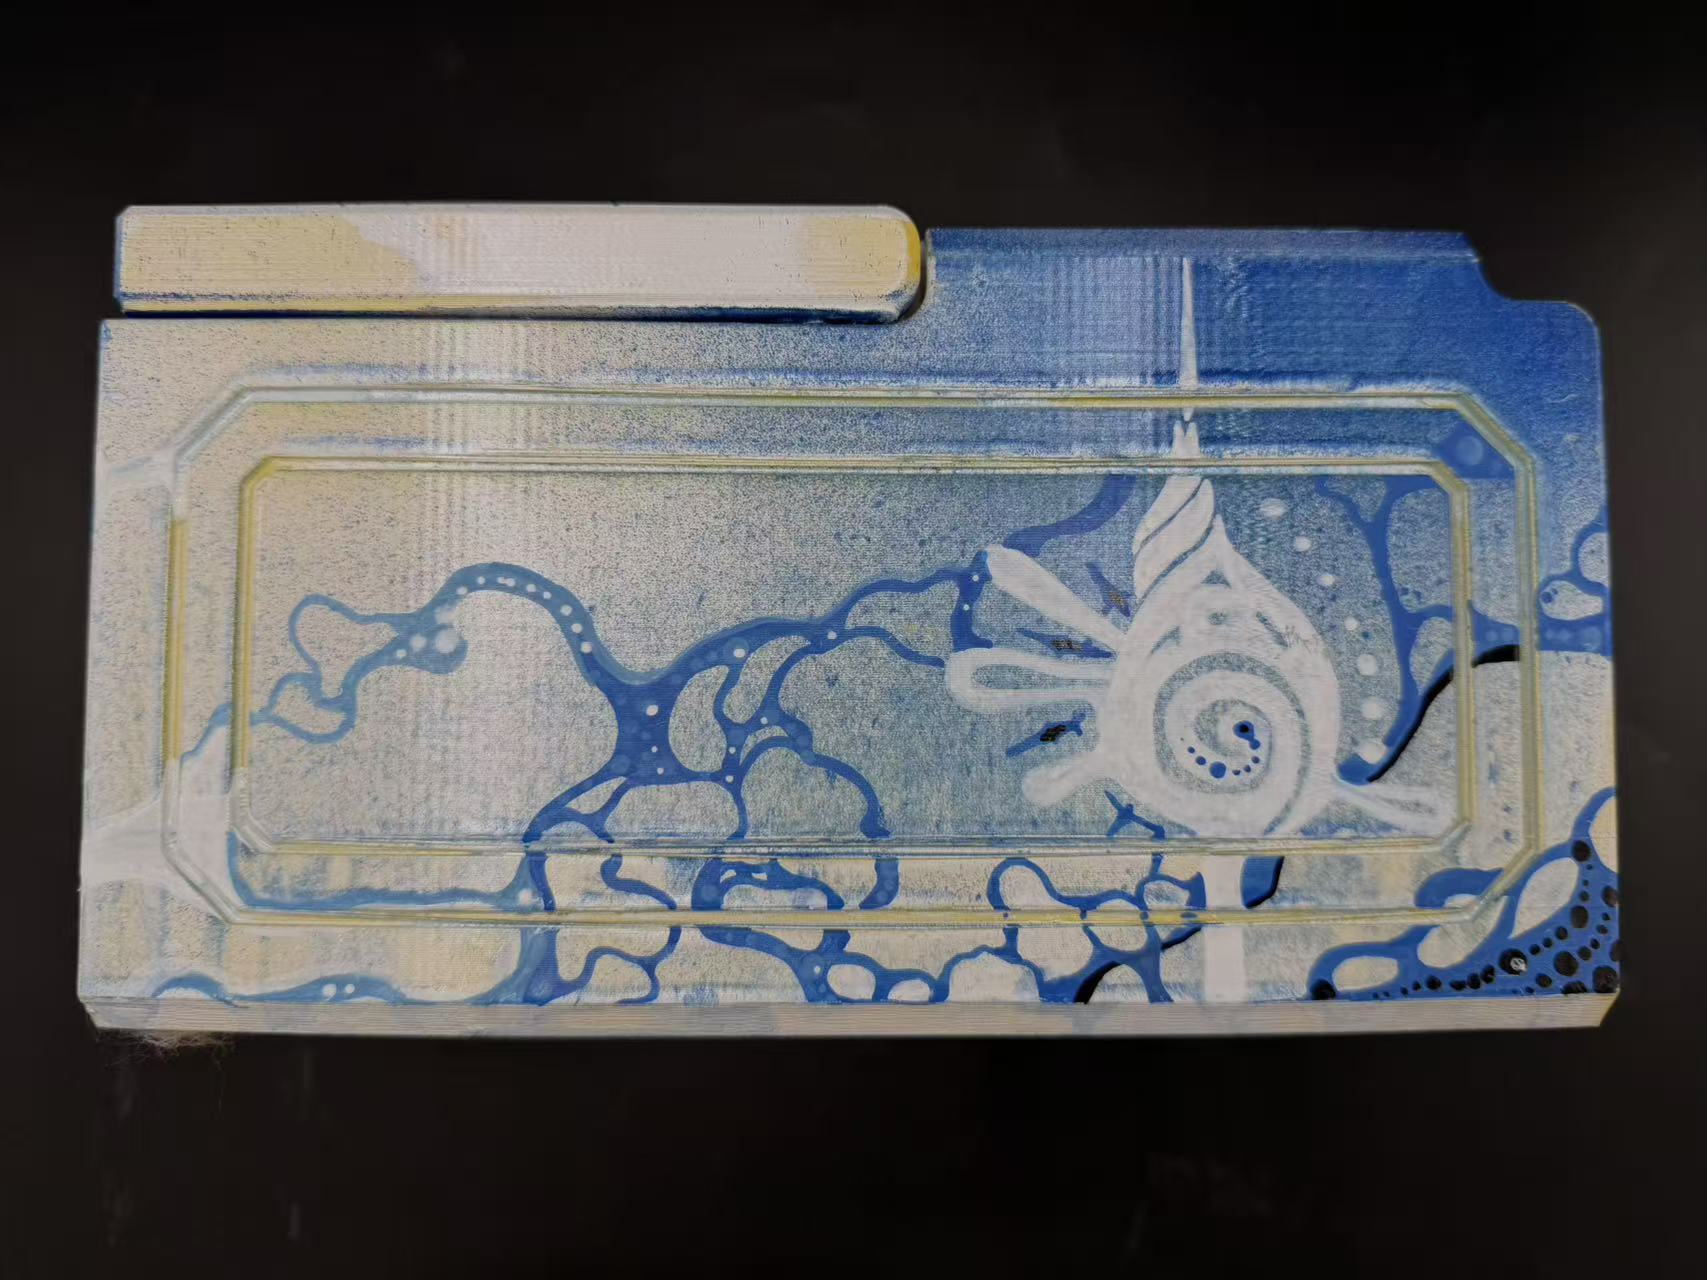
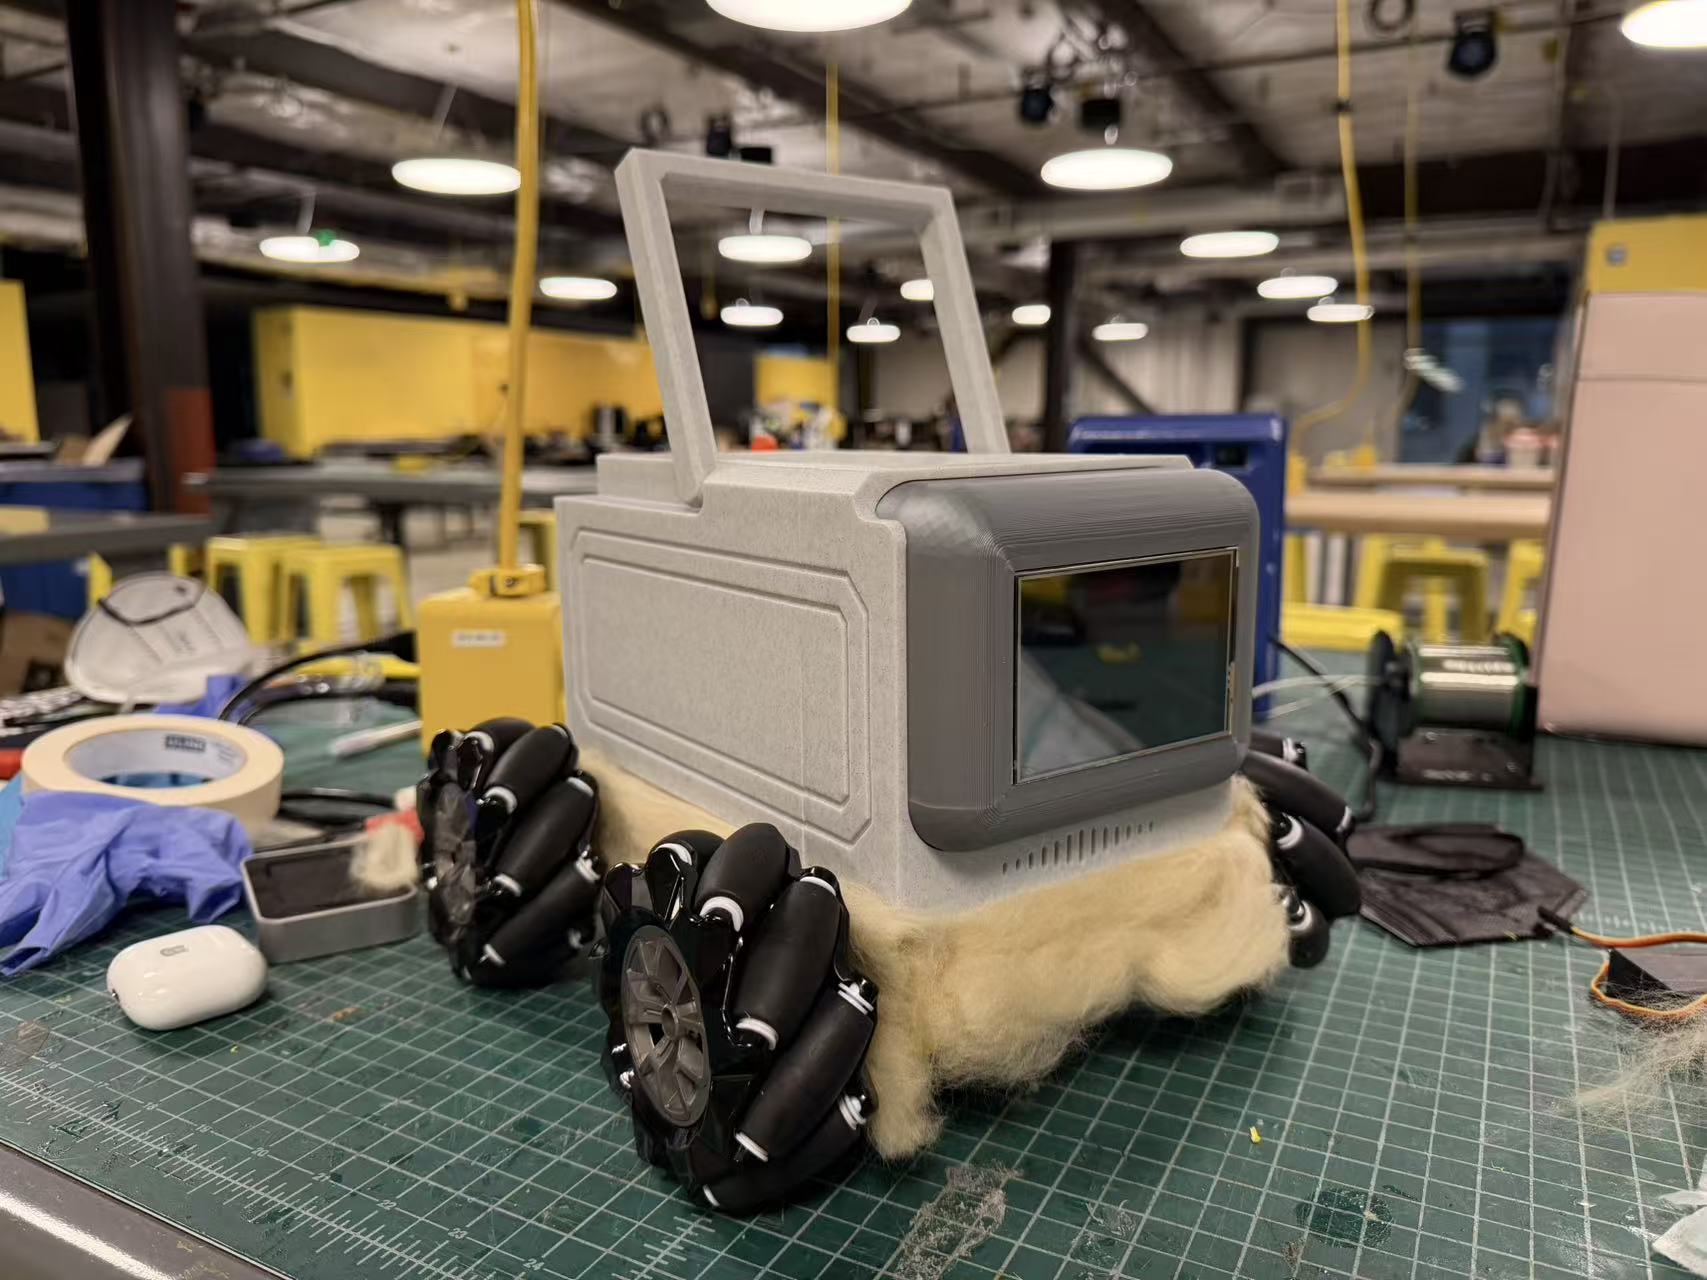
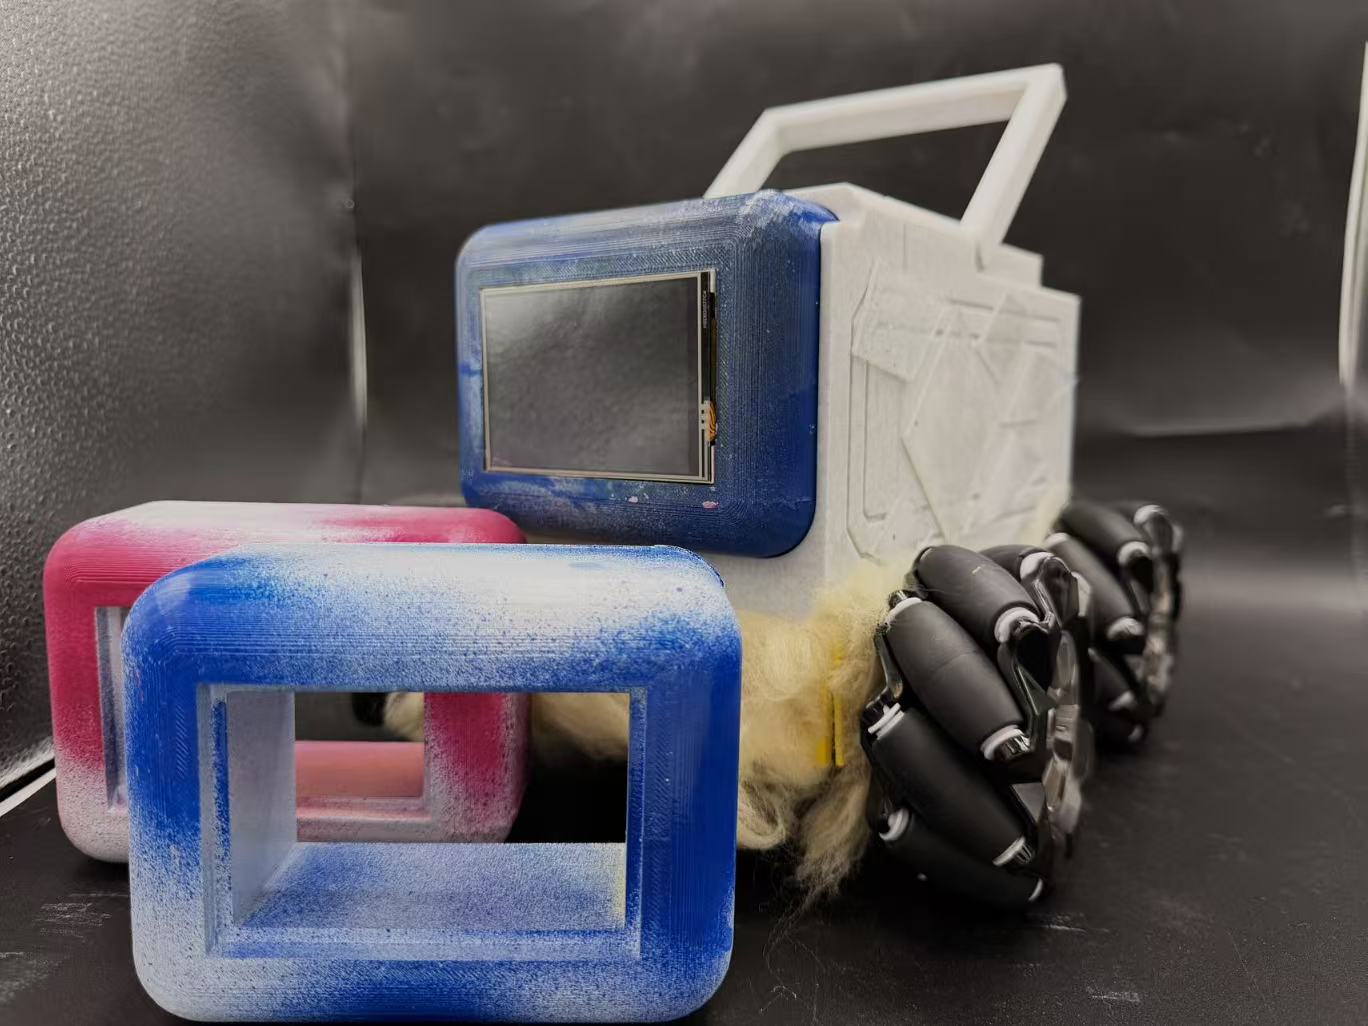
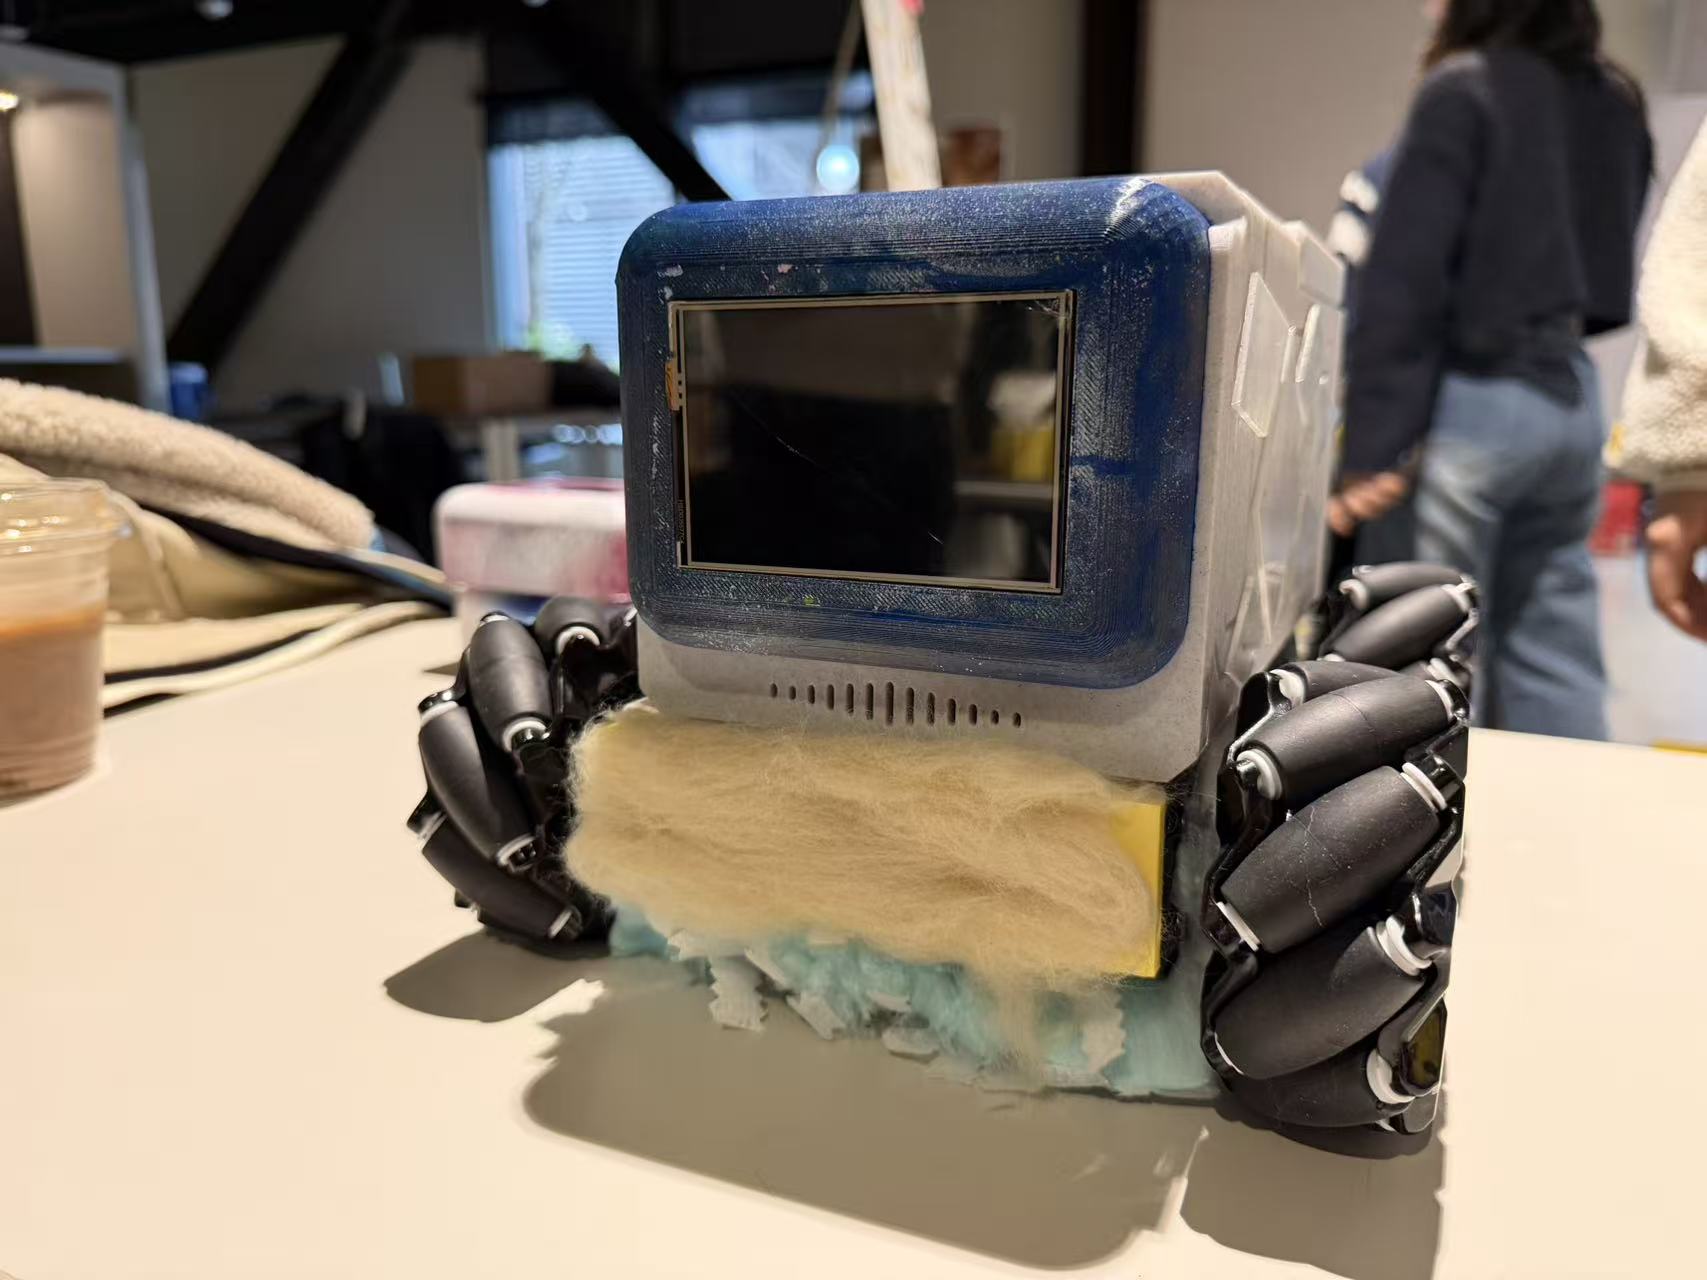
SurfaceHelper is a specialized desktop cleaning companion designed to bridge the gap between cooking and cleaning. It specifically targets the fatigue that often leads to hardened stains on stovetops. Instead of relying on passive autonomy, it encourages active engagement where users simply place the device on dirty spots and guide it directly over the mess using a basic remote control. The true personality of the robot lies in its customizable design. We created a unique interchangeable faceplate system that allows users to dress up their helper with various themes. For example, users can choose a vibrant marine look or an artistic mosaic style. This playful approach transforms a mundane cleaning tool into a personalized kitchen companion that makes the process feel less like a chore and more like an enjoyable interaction.
Demo Video

See SurfaceHelper in action.

Process & Iterations

Our journey from sketches to the final "dress-up" robot. We learned that early constraint-setting and small customization options can make the product both more efficient to build and more engaging to use.

Sketches
Step 1

Sketching & Concept

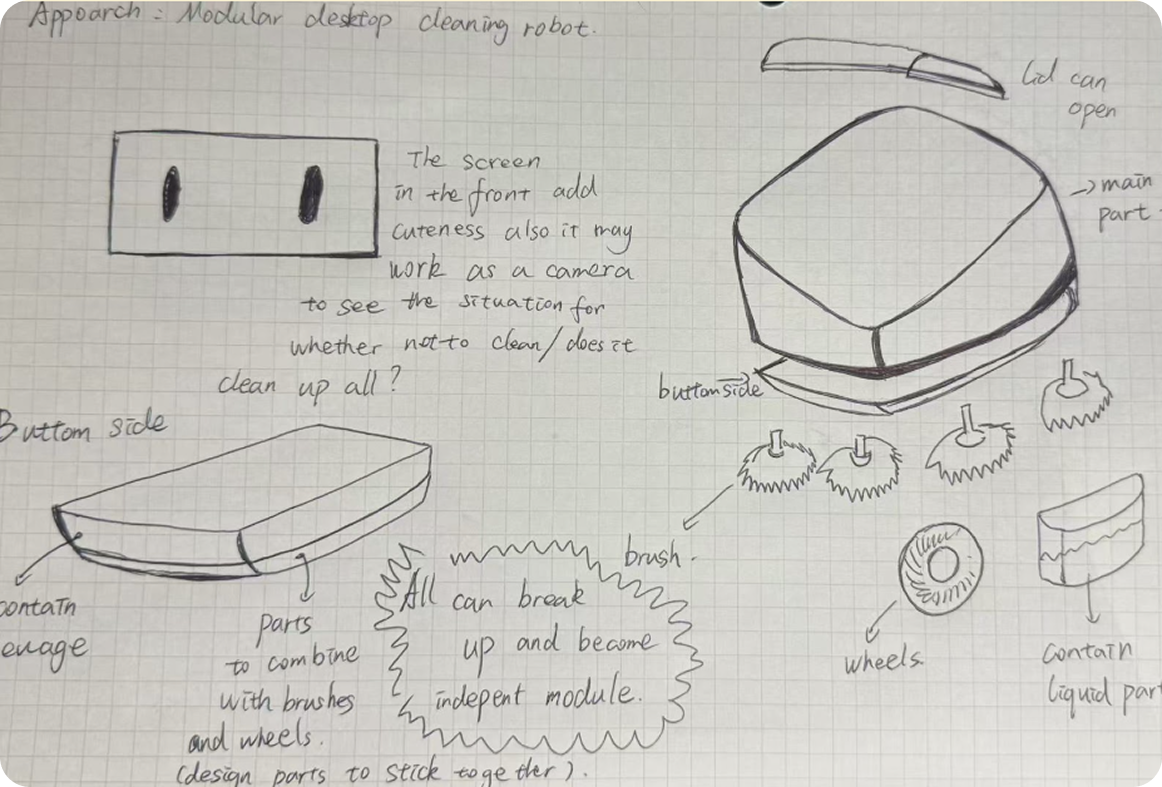
We began the process by exploring a wide range of forms and physical interactions on paper. This approach allowed us to rapidly iterate through ideas before committing to any time-consuming 3D modeling. Sketching proved instrumental in clarifying our main concept. It helped us visualize exactly how a user would hold the device and guide it across a surface. By focusing on the user experience at this early stage, we were able to filter out overly complex designs and focus on shapes that felt approachable and friendly. This foundational step ensured that our subsequent mechanical design remained aligned with our goal of creating a simple yet engaging cleaning helper.

Component Test
Step 2

Component Testing

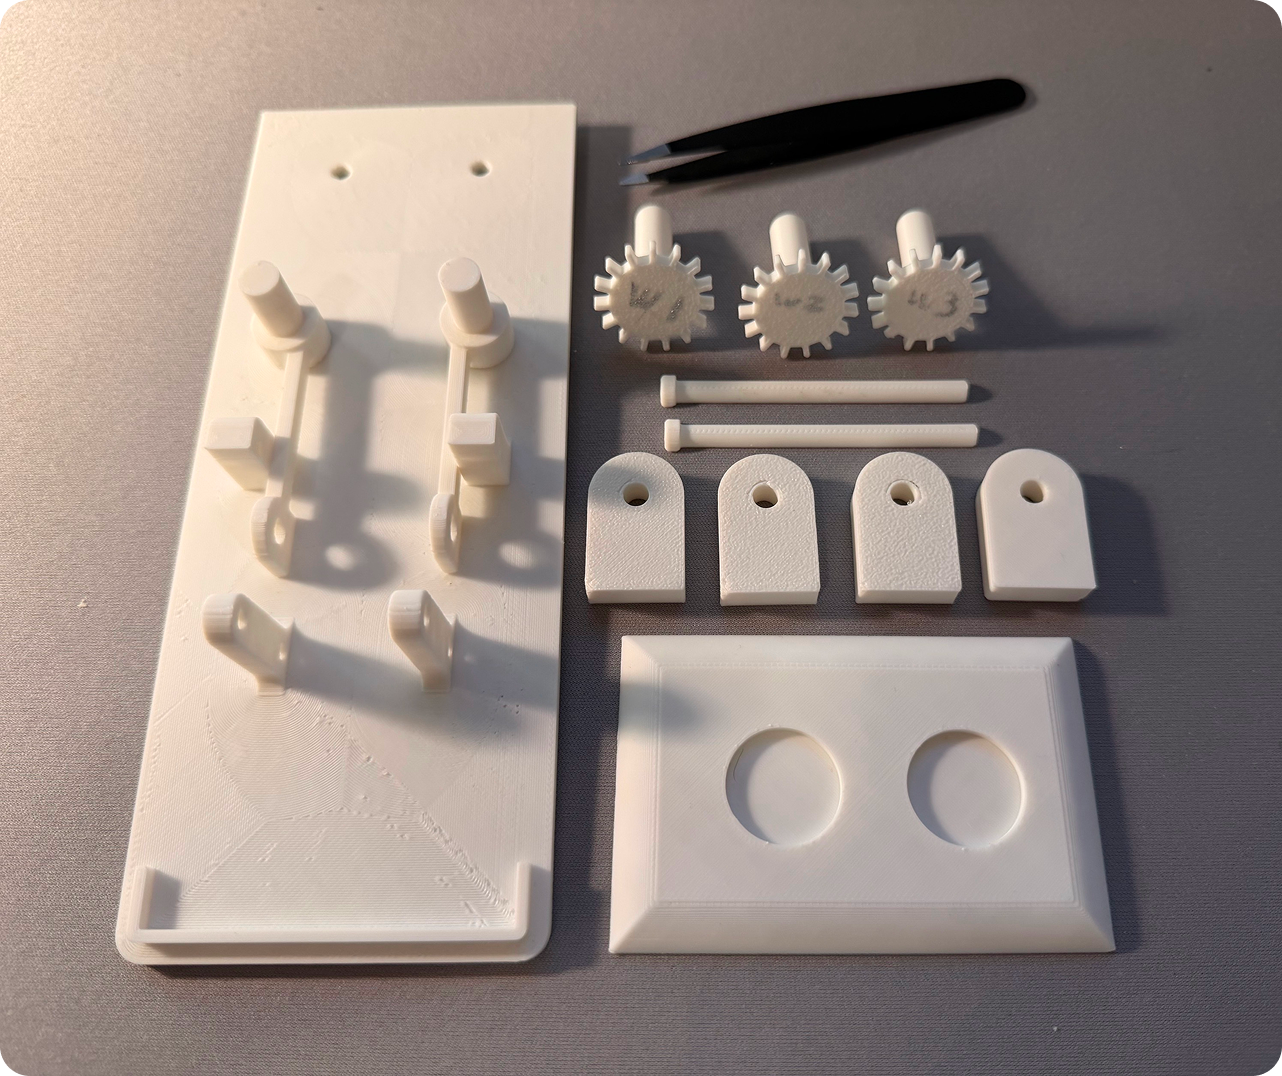
We prioritized verifying the functional basics by printing and testing individual small parts first. This allowed us to check critical factors like size accuracy, printing tolerances, and the smoothness of motion before committing to the full assembly. Although many of these specific test components were not utilized in the final high-fidelity model, this experimental phase was indispensable. It provided us with a tangible understanding of the physical constraints and mechanical limitations, ensuring that our subsequent design choices were grounded in reality rather than just theory.

Low Fi Model
Steps 3 & 4

Low-Fidelity & Iteration

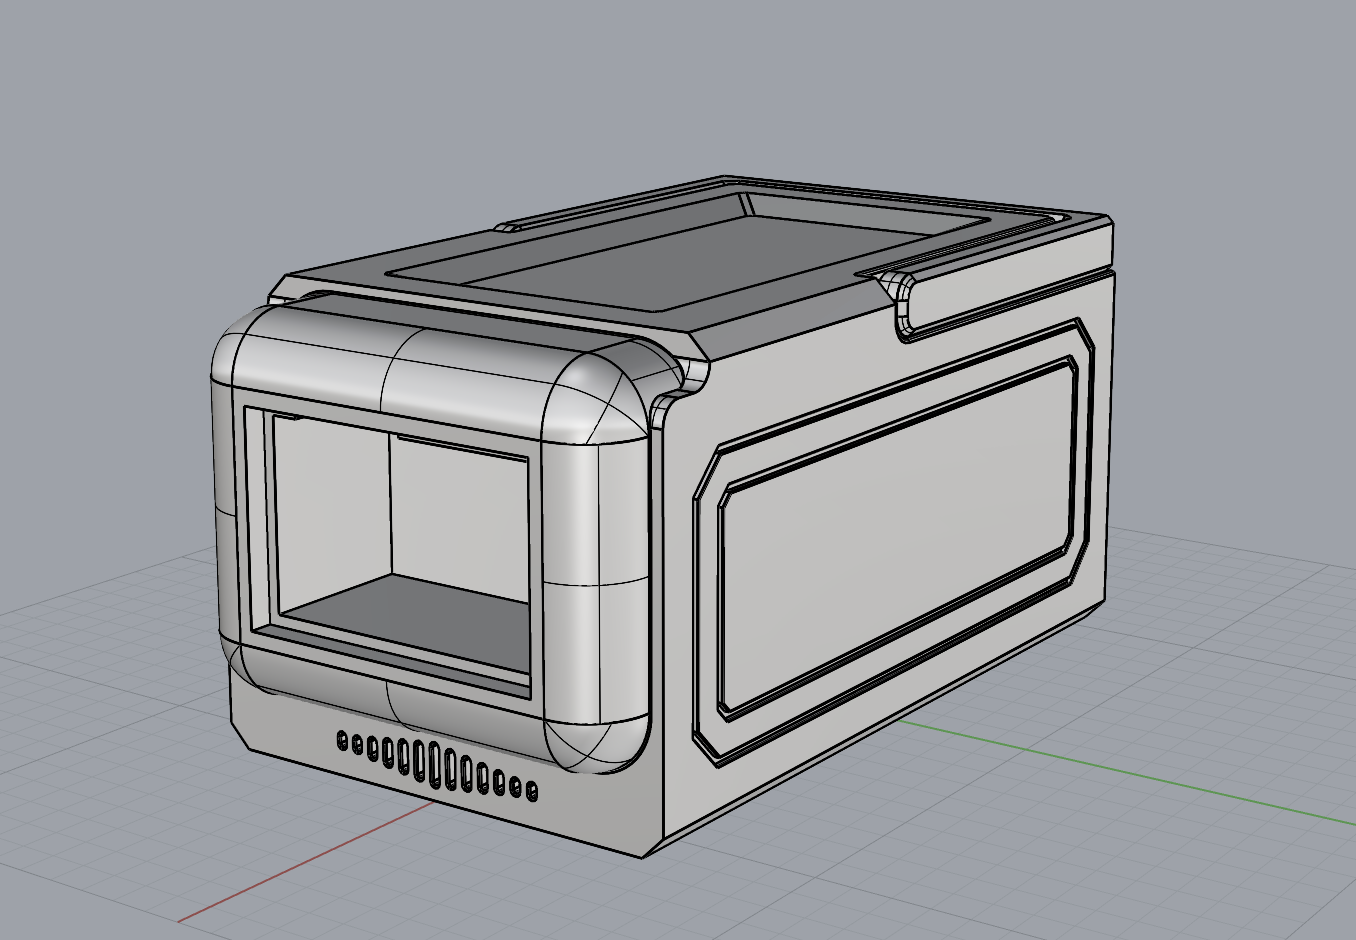
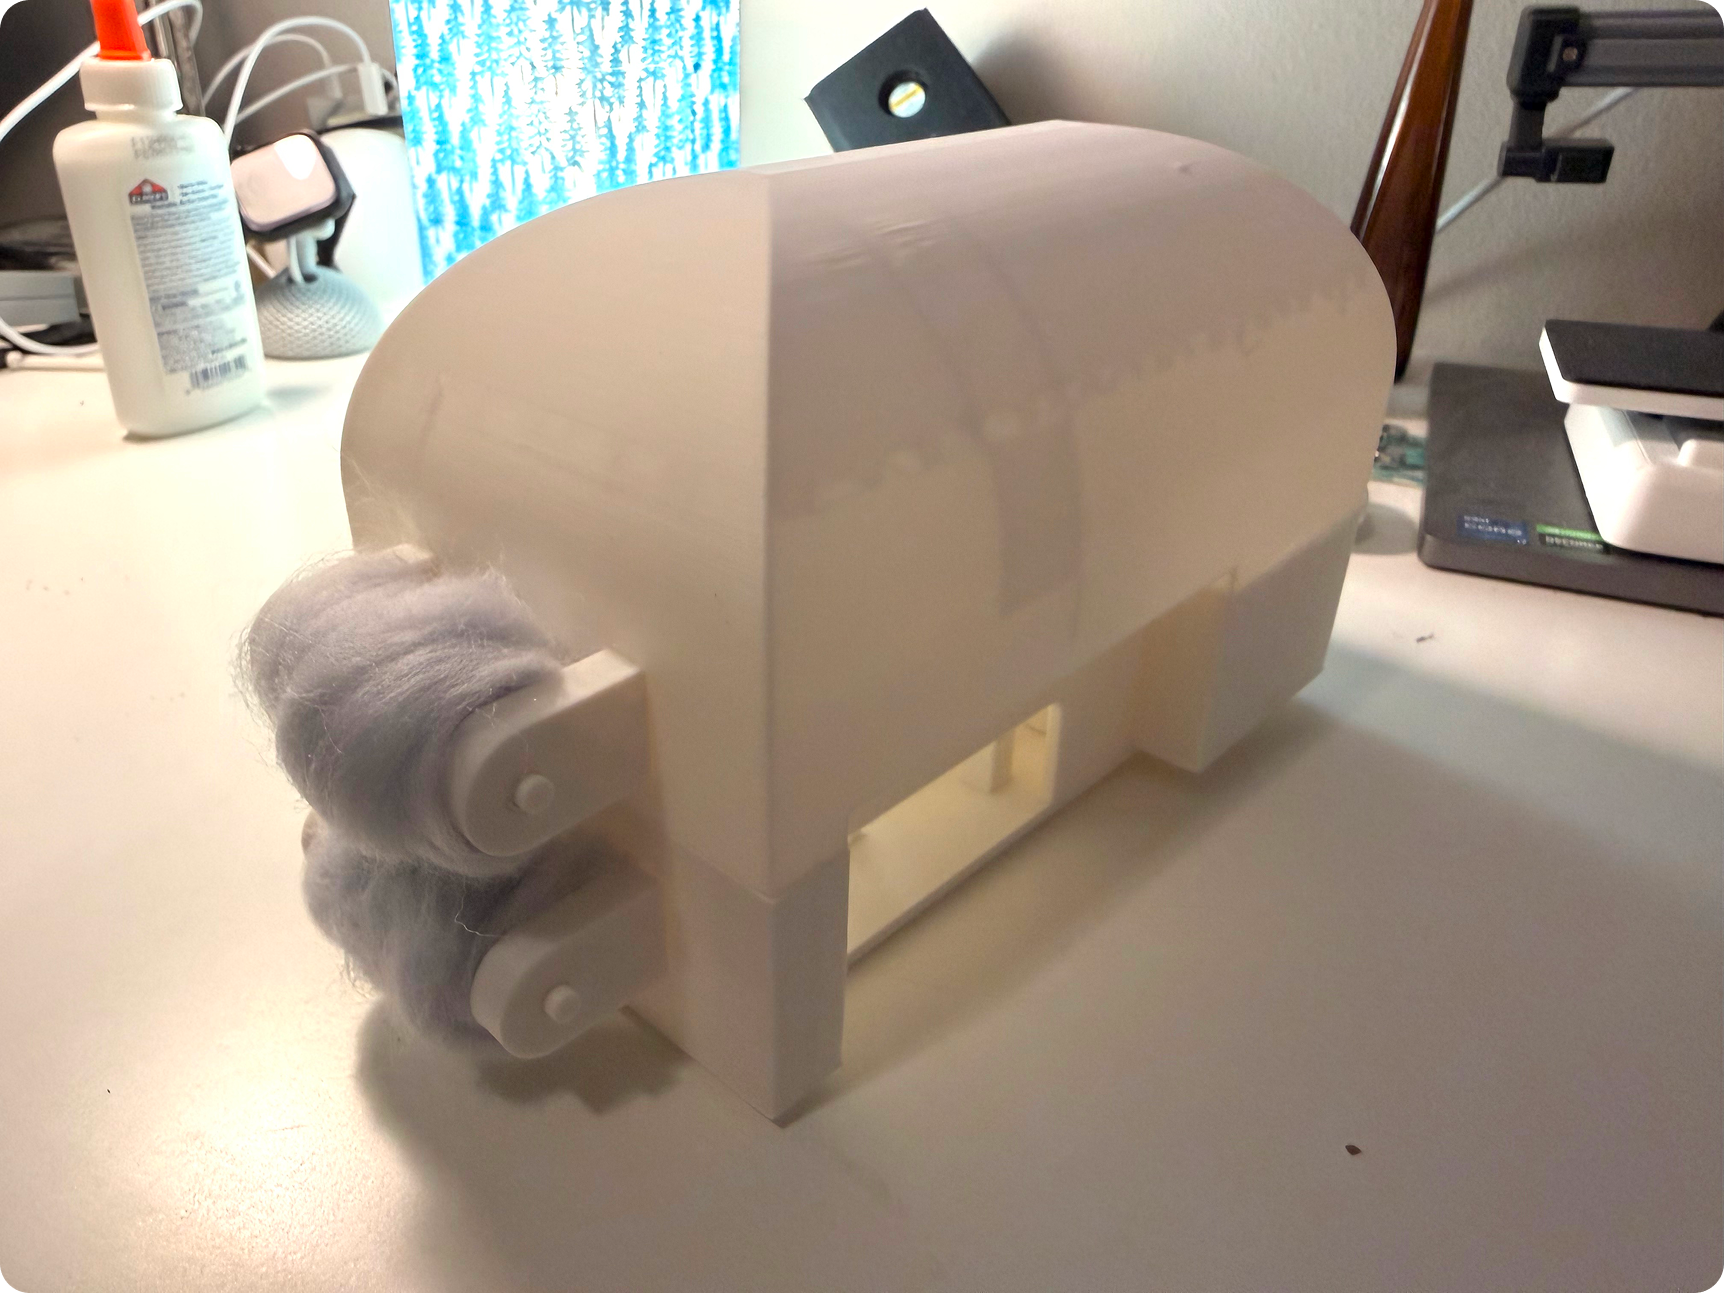
We started by building a rough full-body model to check the overall volume. However, we faced a major challenge when we realized our initial shape did not match the internal structure we needed. The mechanism simply could not fit inside the shell properly. To fix this, we had to rethink the design. We adjusted the overall form and changed the proportions in the next iteration to make more room for the gears. We also adopted a new wheelbase to improve stability. This adjustment was necessary to ensure all the parts fit correctly and to leave enough space for the decoration we planned to add later.

Modeling Mechanism
Step 5

Modeling & Electronics

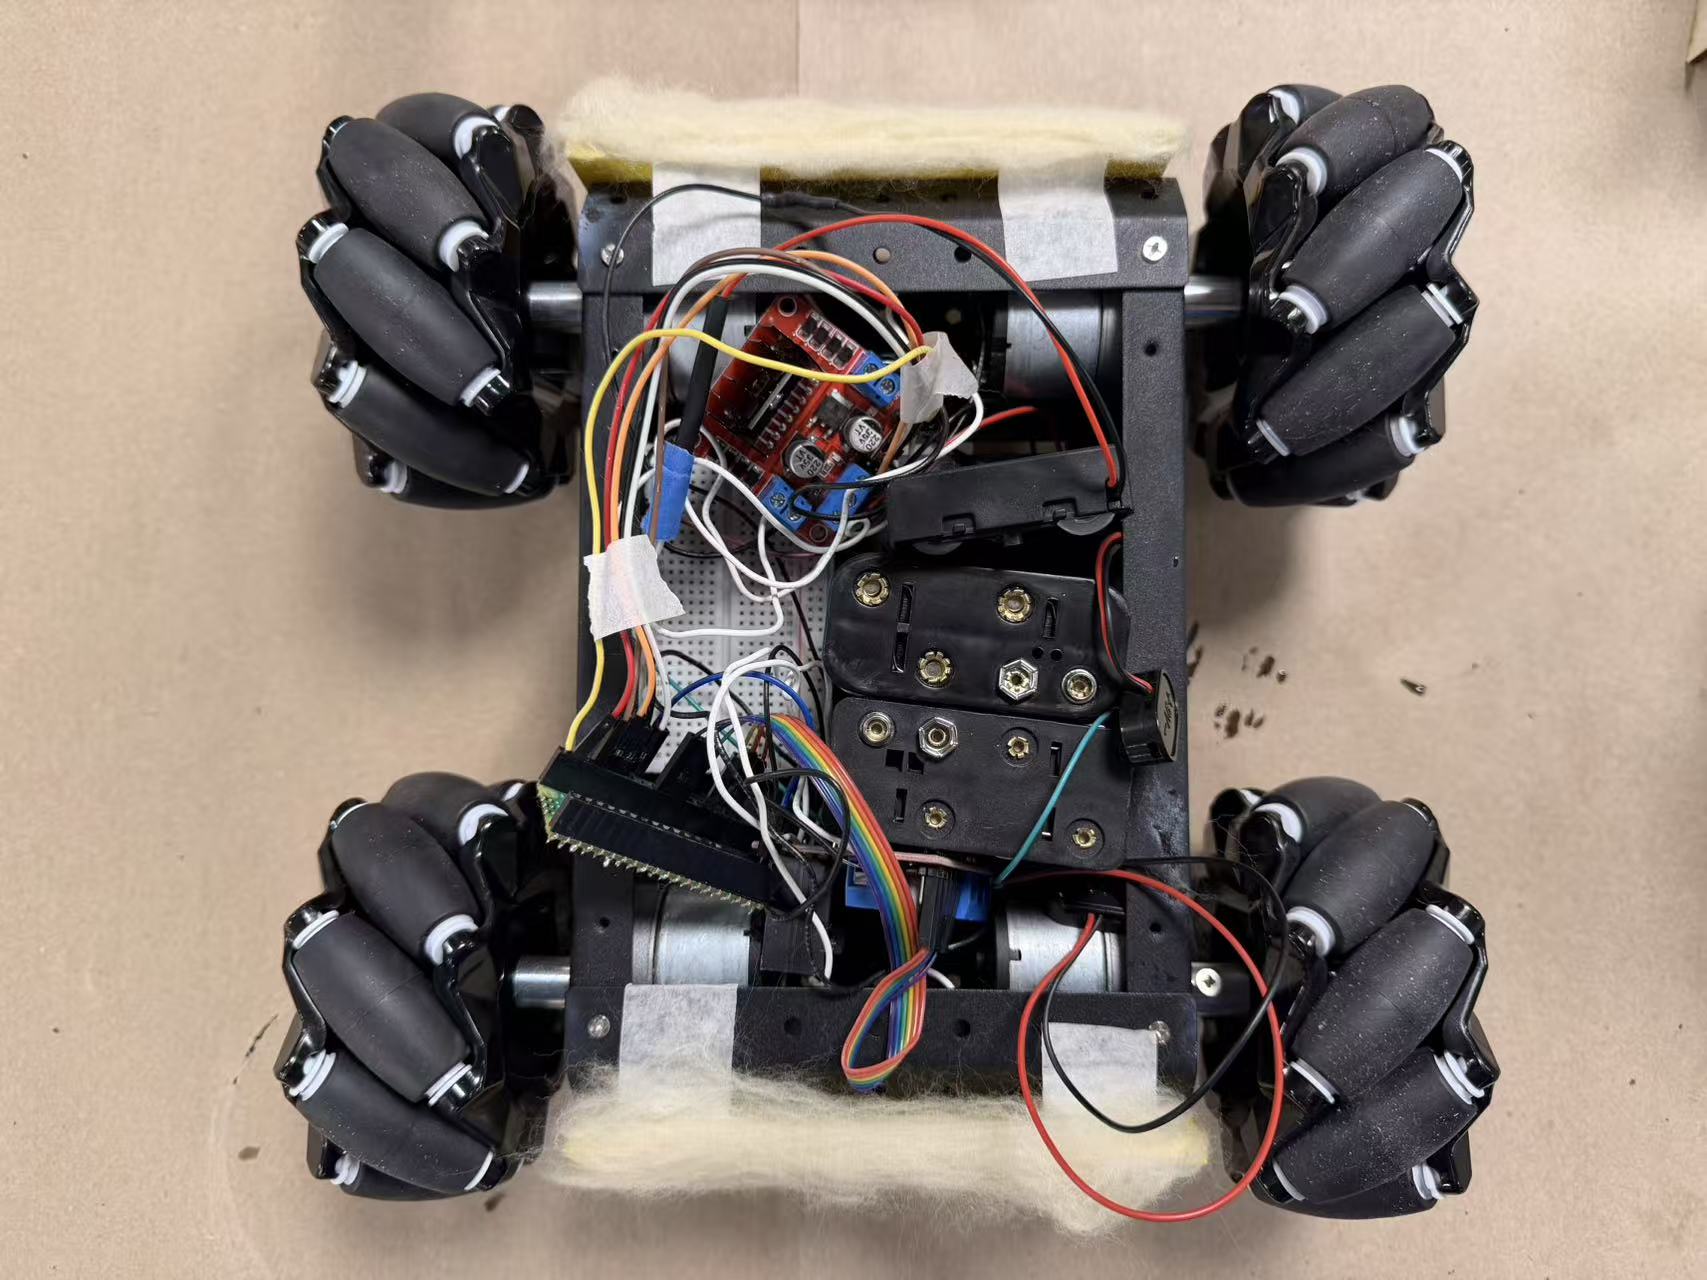
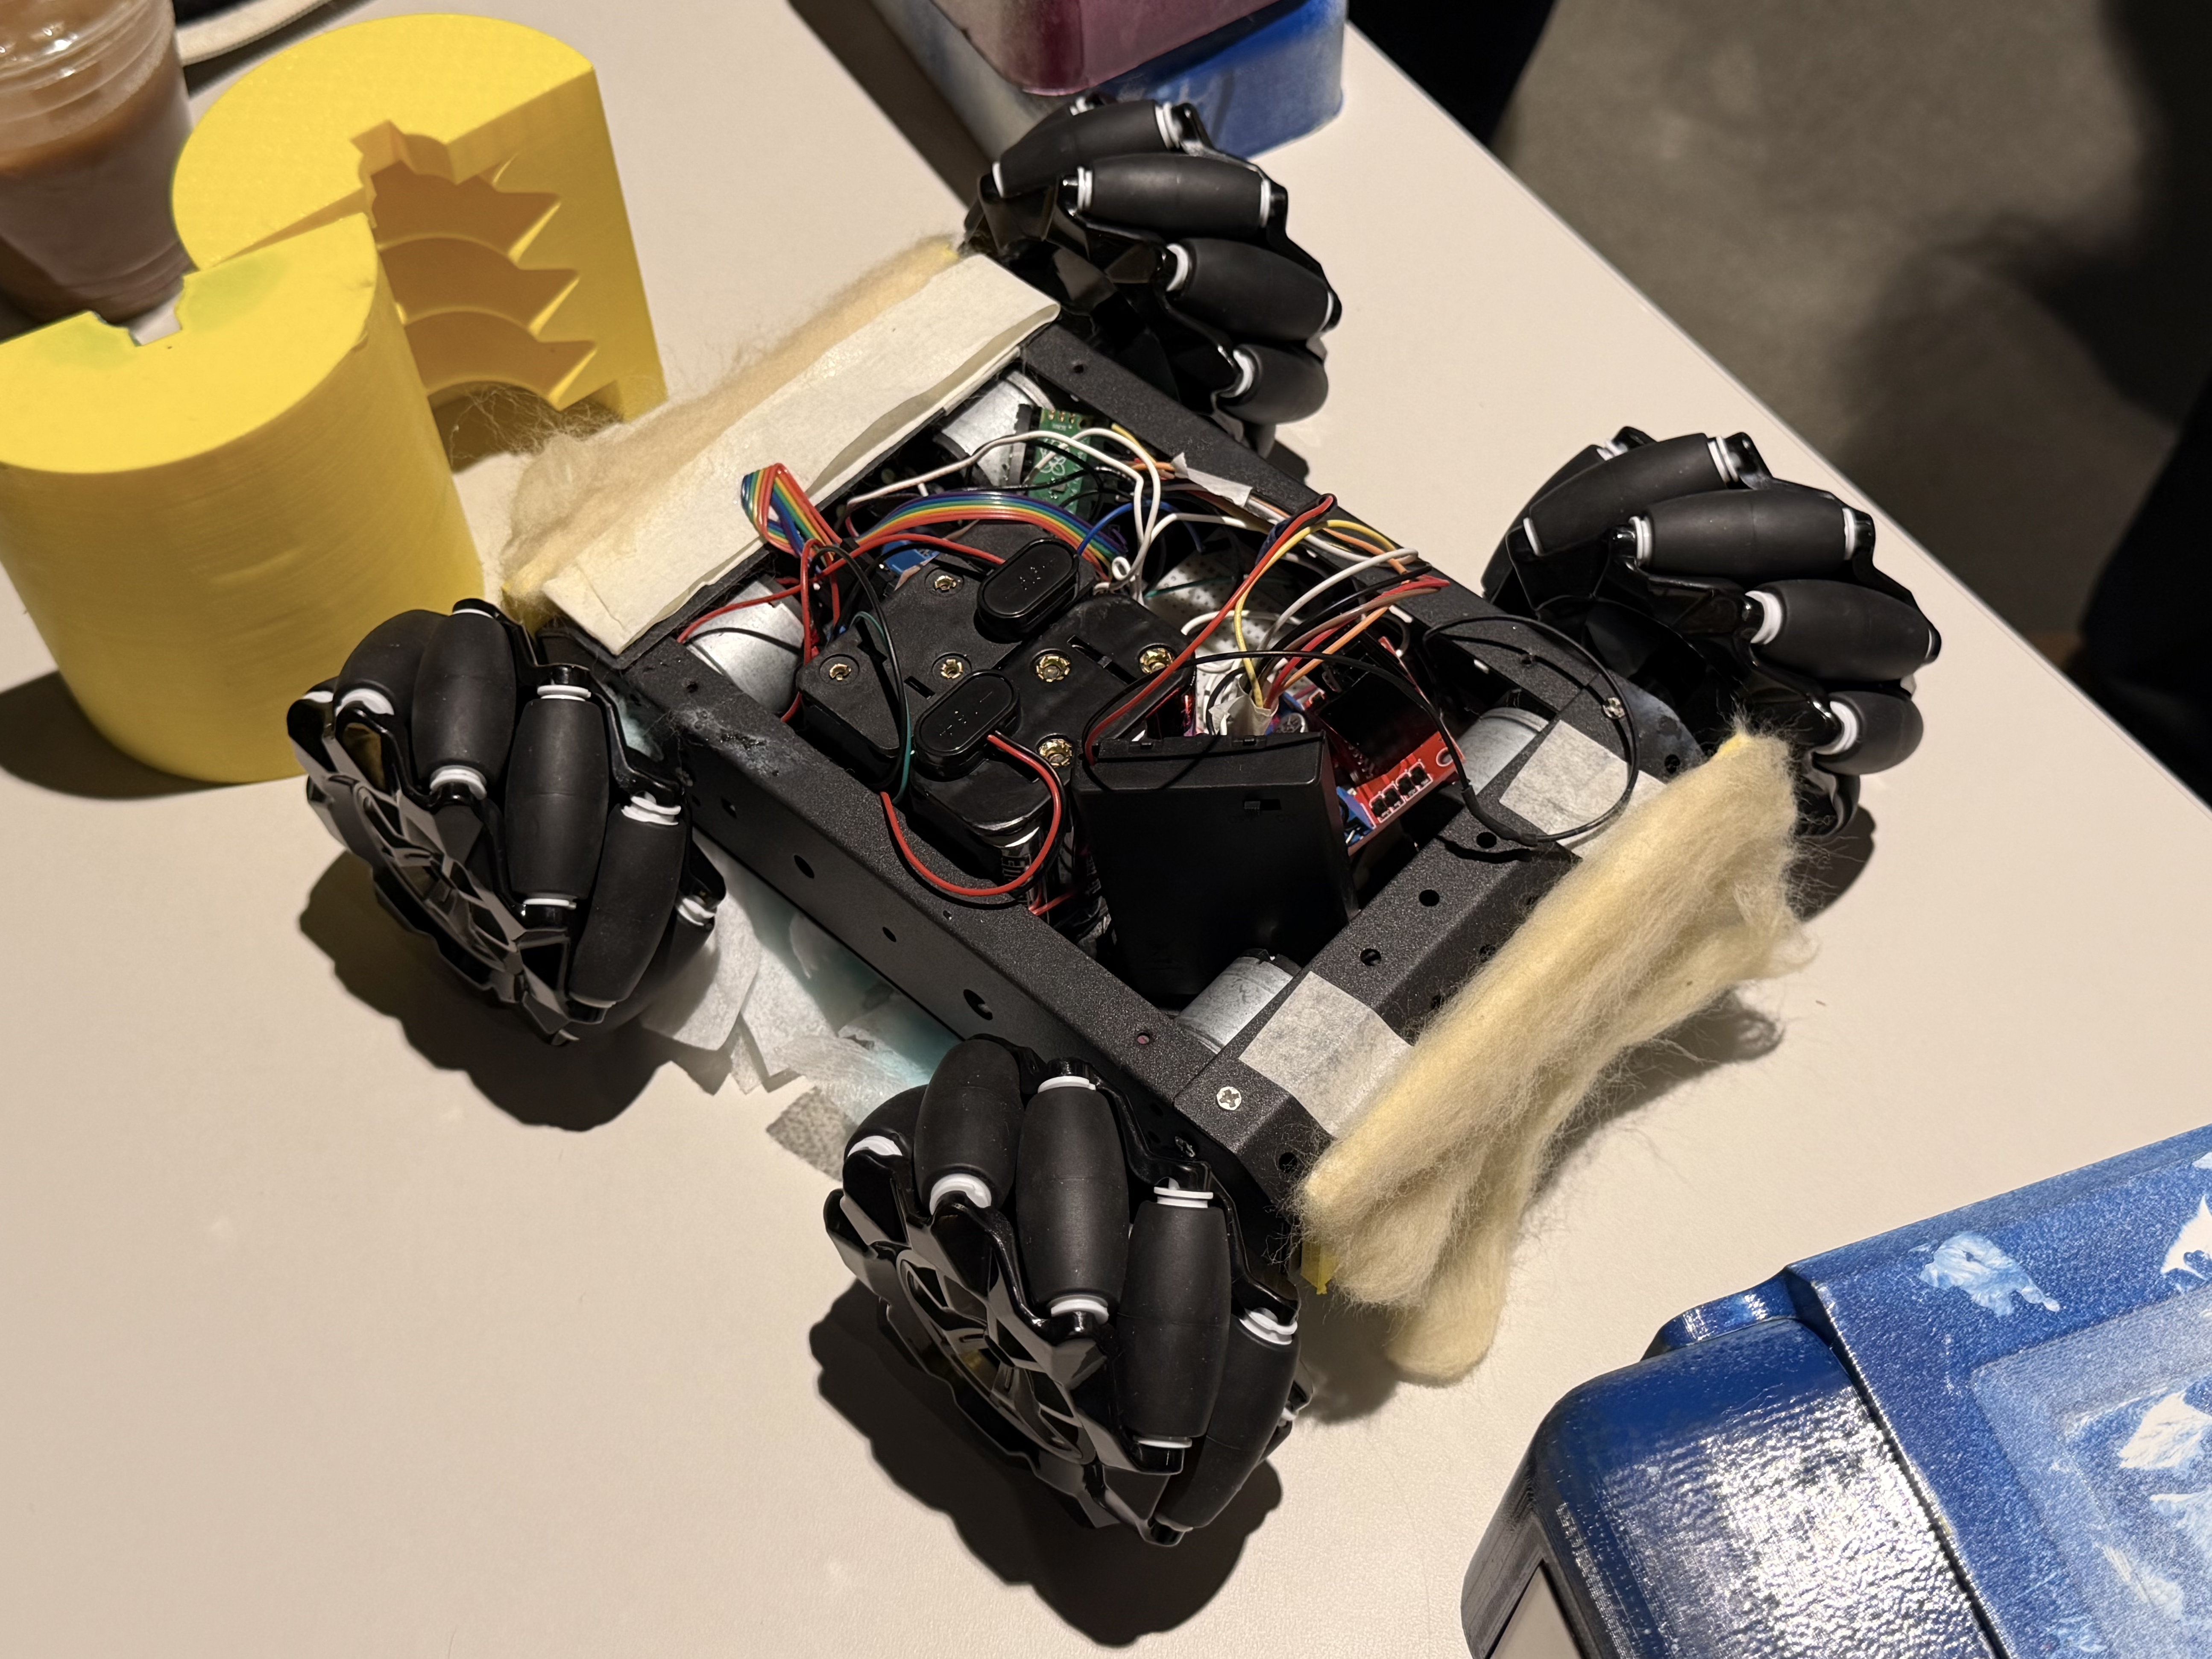
To make the robot scrub in a circular motion we used omni-wheels. Omni-wheels give the robot holonomic movement so it can move freely in any direction and glide smoothly across a flat surface. Motor drivers control the motors and provide up to 12 V so the robot can move quickly across the floor; they also accept PWM inputs so we can regulate motor speed when needed. The robot’s base is kept as low to the floor as possible so the liquid-absorbing pad remains in continuous contact with the surface, and that is why our design is intentionally low profile.

Decoration
Step 6

Decoration & Finish

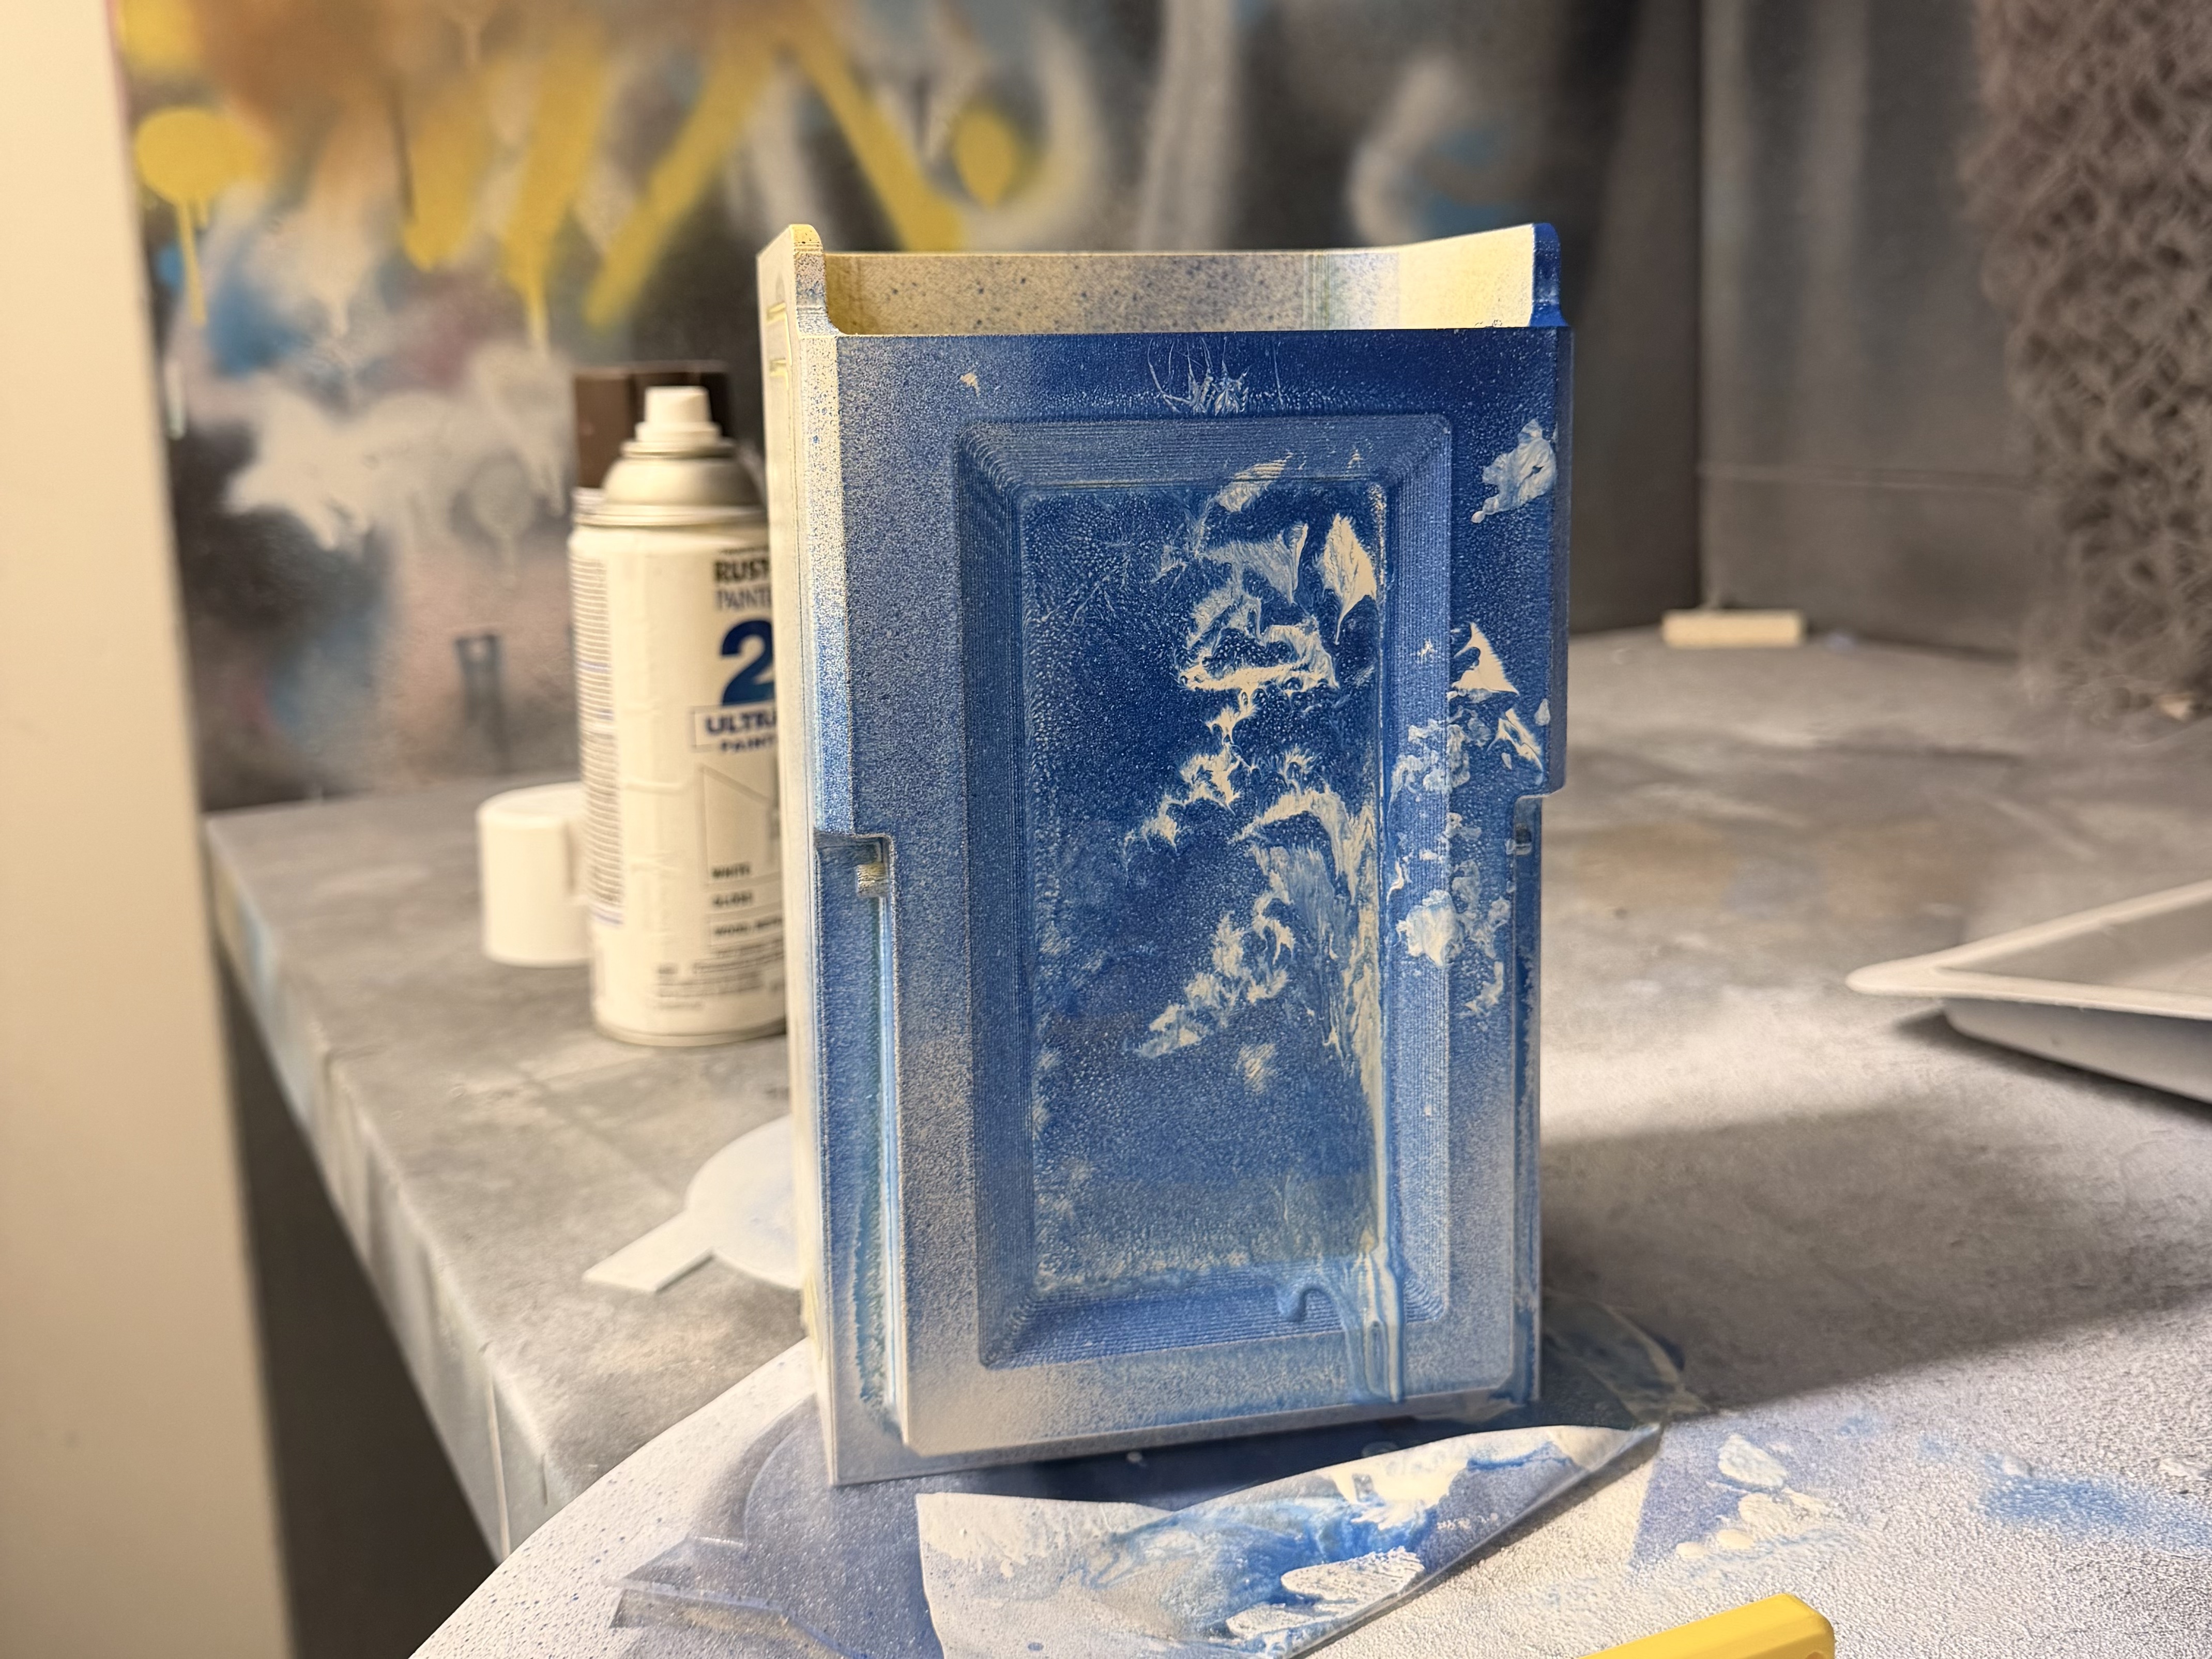
We wanted to add more playful variety. To address the "boring" appearance of the initial structure, we designed an interchangeable robot front. This allows users to personalize the robot and creates a more engaging interaction, making cleaning no longer a boring process. We experimented with surface and color to express the project's theme. We utilized spray printing to cover the original yellow material color, creating a cohesive aesthetic that matched our interchangeable "dress-up" covers (like the marine theme or robotic acrylic mosaic).

Related Links & Resources

The Team

Team 17

XZ

Xirui Zhu

Design & Fabrication & Video

MS

Mengqi Shi

Prototyping & Fabrication & Webpage

AY

Aaron Yeung

Electronics & Mechanism